The main points
- Find the mat brake and the snow hook during the briefing, and use both gently rather than stamping on them.
- Feet on the runners, knees soft, eyes on the dogs ahead, and let your hips take the bumps in the trail.
- Hike, whoa, gee and haw cover go, stop, right and left. Say each one clearly and say it once.
- Tromsø: Self-Drive Husky Dog Sledding Adventure lists 4 hours and a from price of US$351[1].
- Dog sledding in Northern Norway typically runs from December to March, depending on snow conditions[2].
- Top choice Self-Drive Husky Sledding from US$351 Rated4.91 from 4,408 reviews[1]Duration4 hours[1]RouteBus/coach > Kvaløya > Bus/coach[1]CancellationFree cancellation, 24 hours before[1] Check availability
- Husky Self-Drive with Lunch from US$355 Rated4.86 from 2,050 reviews[3]Duration4 hours[3]RouteNo stops listedCancellationFree cancellation, 24 hours before[3] See this tour
- Fun and Easy Dog Sledding from US$305 Rated4.88 from 2,077 reviews[4]Duration4.5 hours[4]RouteBus/coach > Breivikeidet > Bus/coach[4]CancellationFree cancellation, 24 hours before[4] See this tour
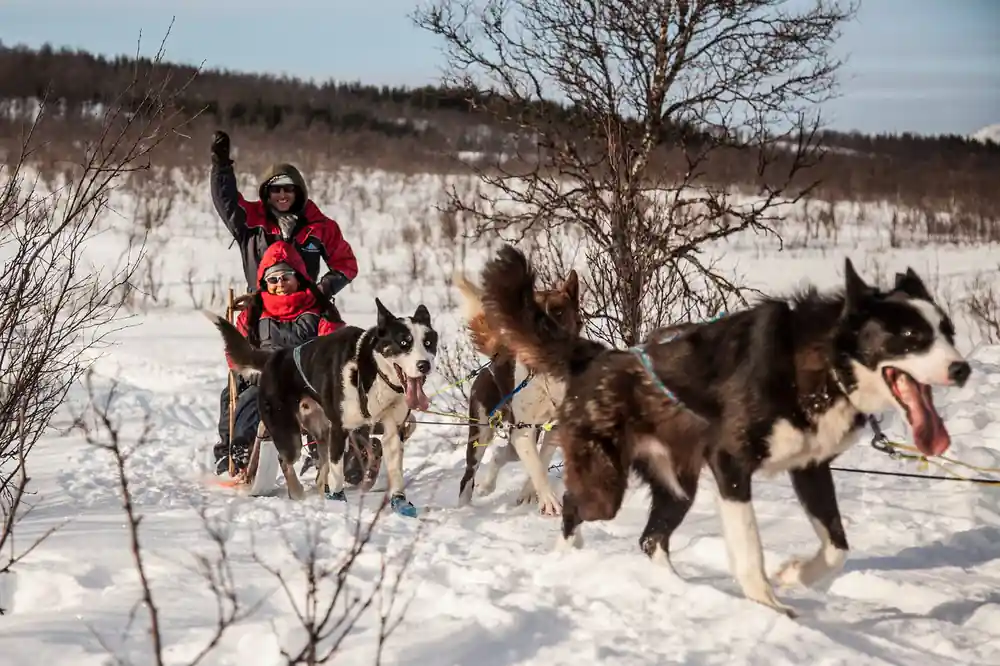
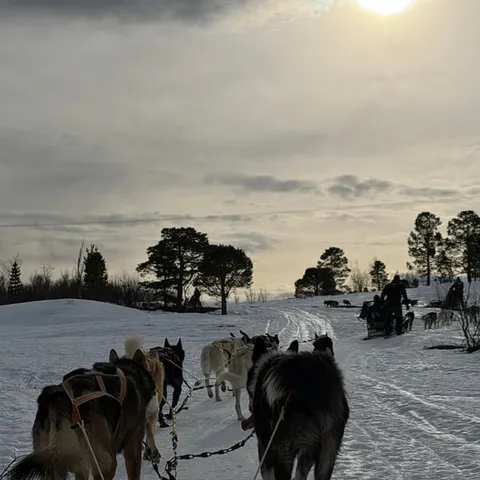
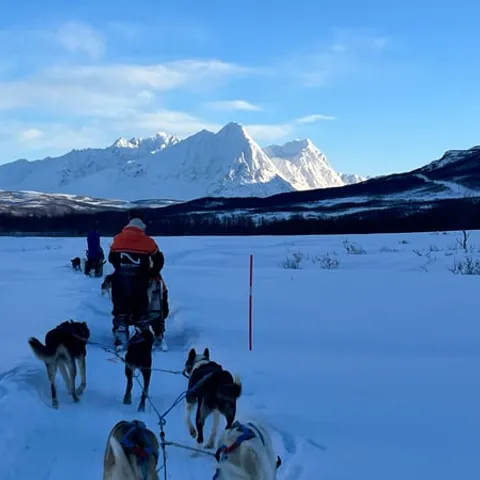
A Category S licence entitles you to drive an open snowmobile with or without a trailer sledge. In some cases, you can drive without a Category S licence.
Drive the sled yourself and let the dogs do the rest
Before you set off
How to Hold the Sled and Stay Balanced
The driving position on a husky sled looks effortless from the passenger seat. You stand on the runners at the back of the sled, both hands on the handlebar, feet apart or one slightly behind the other, knees soft and weight low. The team pulls, the sled follows, and your job is to stay loose. Of the two dog sledding positions that matter on a tour, driver and passenger, you are the one standing up at the back, with the passenger settled in the basket in front and the guide travelling with the group.
The opening stretch is all about balance. Look ahead at the dogs rather than down at your feet, bend your knees over the bumps, and let your hips absorb the movement of the trail. Gripping the handlebar too tightly sends every jolt straight up your arms. On the Tromsø: Self-Drive Husky Dog Sledding Adventure you take the controls yourself over 4 hours, with an instructor on the tour, and the listed route runs from a bus or coach transfer out to Kvaløya and back the same way.[1] Kvaløya begins where the Sandnessund Bridge ends, less than 5 km from central Tromsø.[8]
Braking and Slowing Your Team
Every sled has a brake, and you should know where it is before the team moves. The usual setup is a mat or claw brake between the runners that you press down with one foot, plus a snow hook on a rope that anchors a stopped team in deep snow. Ask your guide which you have and how hard the mat bites. Slowing down is a gentle, early action: ease your weight onto the brake and keep both hands on the bar. Stamping on the brake at speed is a quick way to lose your footing.
On a descent, brake in short squeezes rather than one long hold and keep your weight back over the runners. On icy, shaded stretches the mat has less grip, so begin slowing earlier than feels natural. The dogs know the trail far better than you do. Guides on the self-drive tour speak English,[1] and asking about the brake before you set off takes a minute and saves a lot of guessing. If you are riding as passenger, keep your hands inside the basket, keep your weight centred, and leave the brake to the driver.
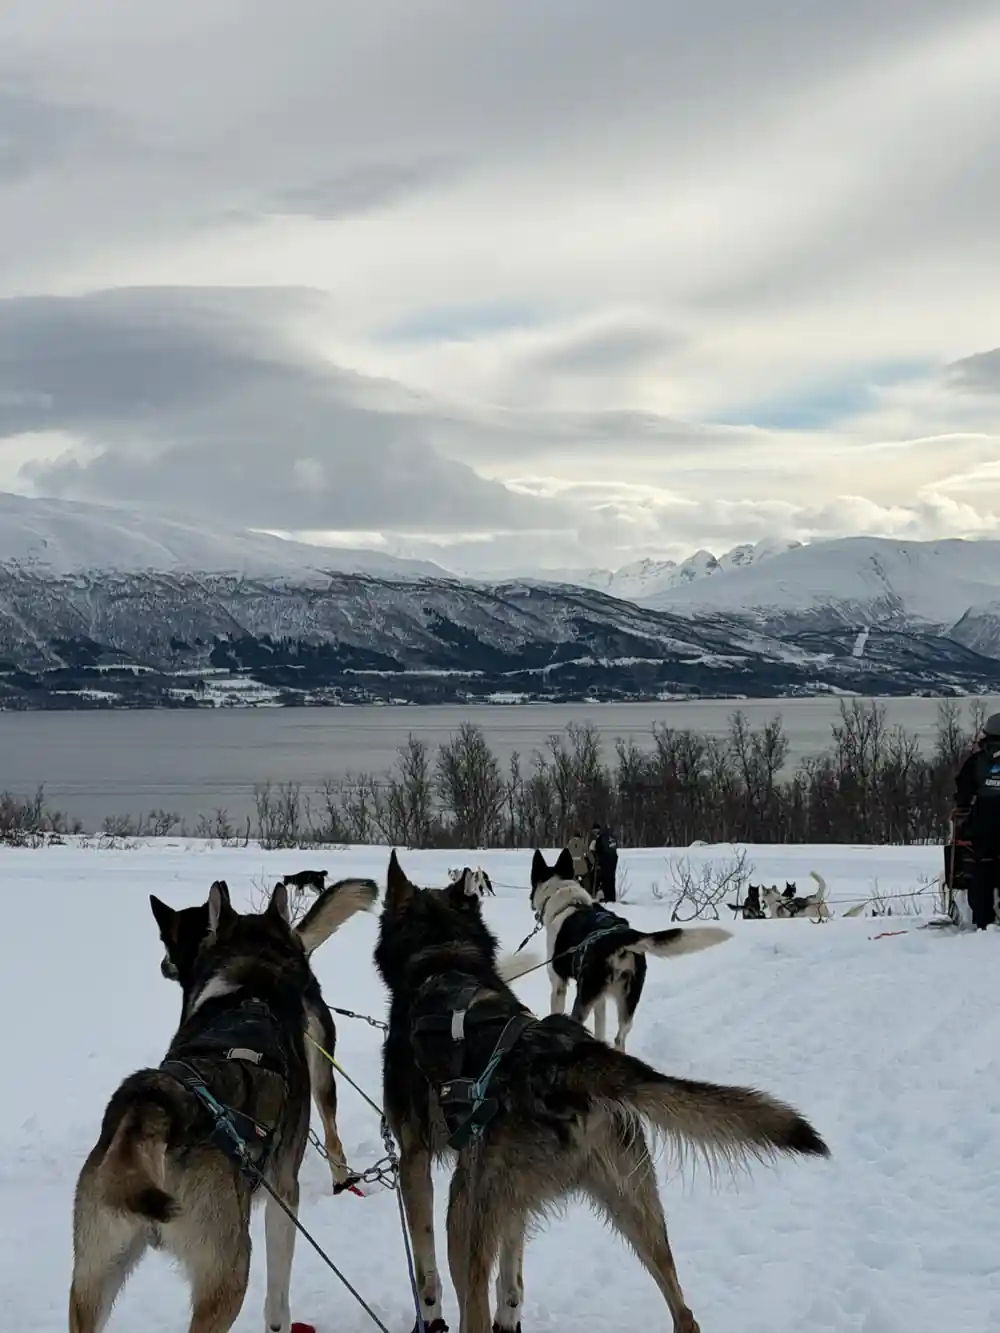
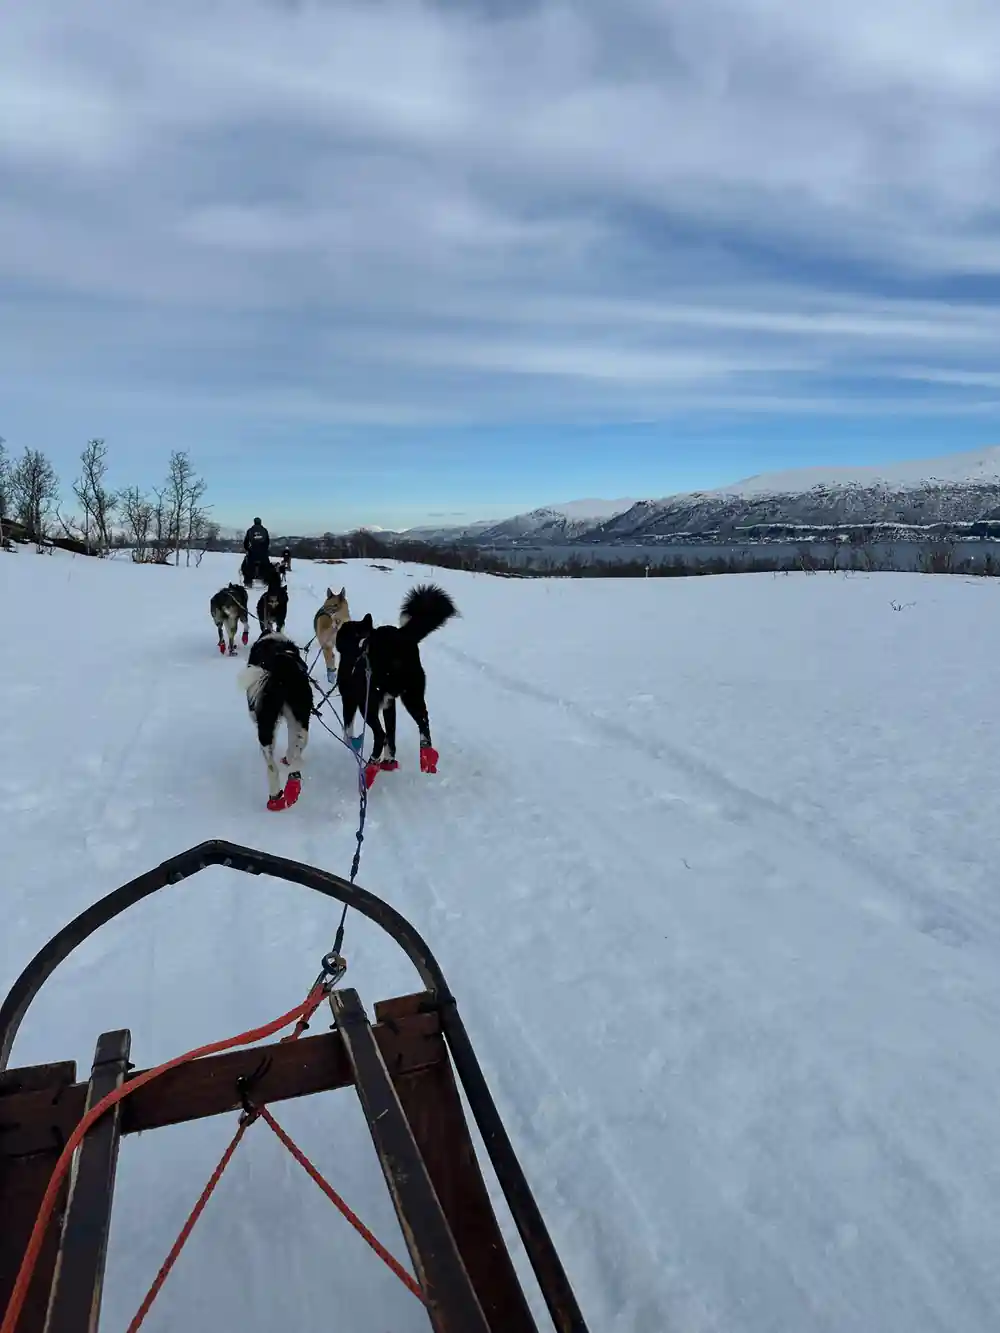
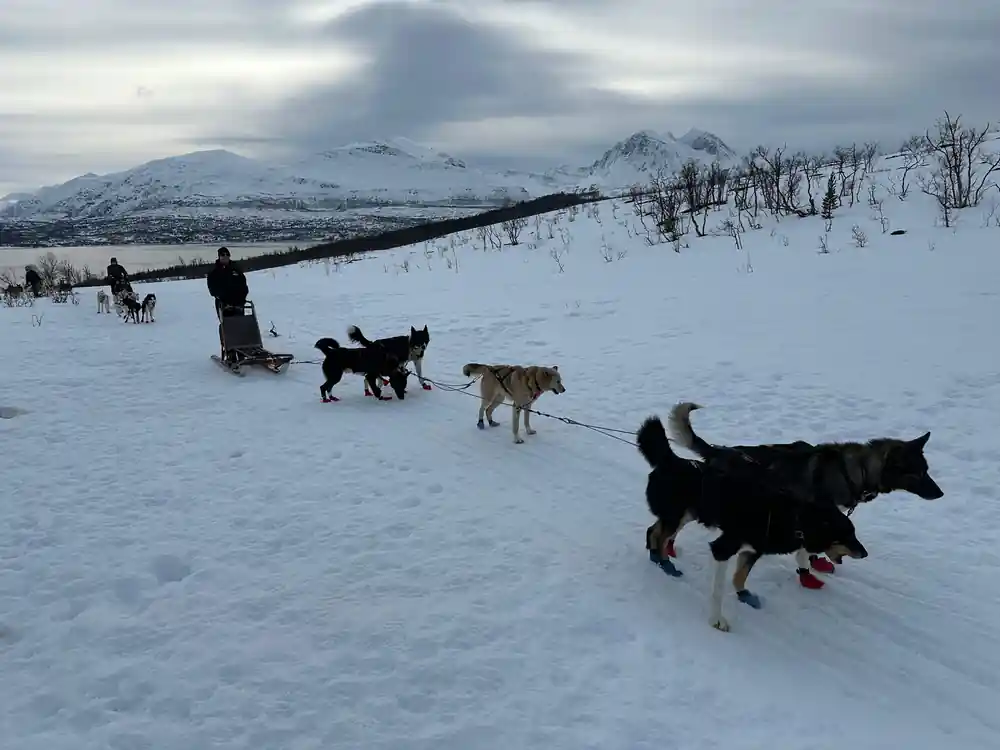
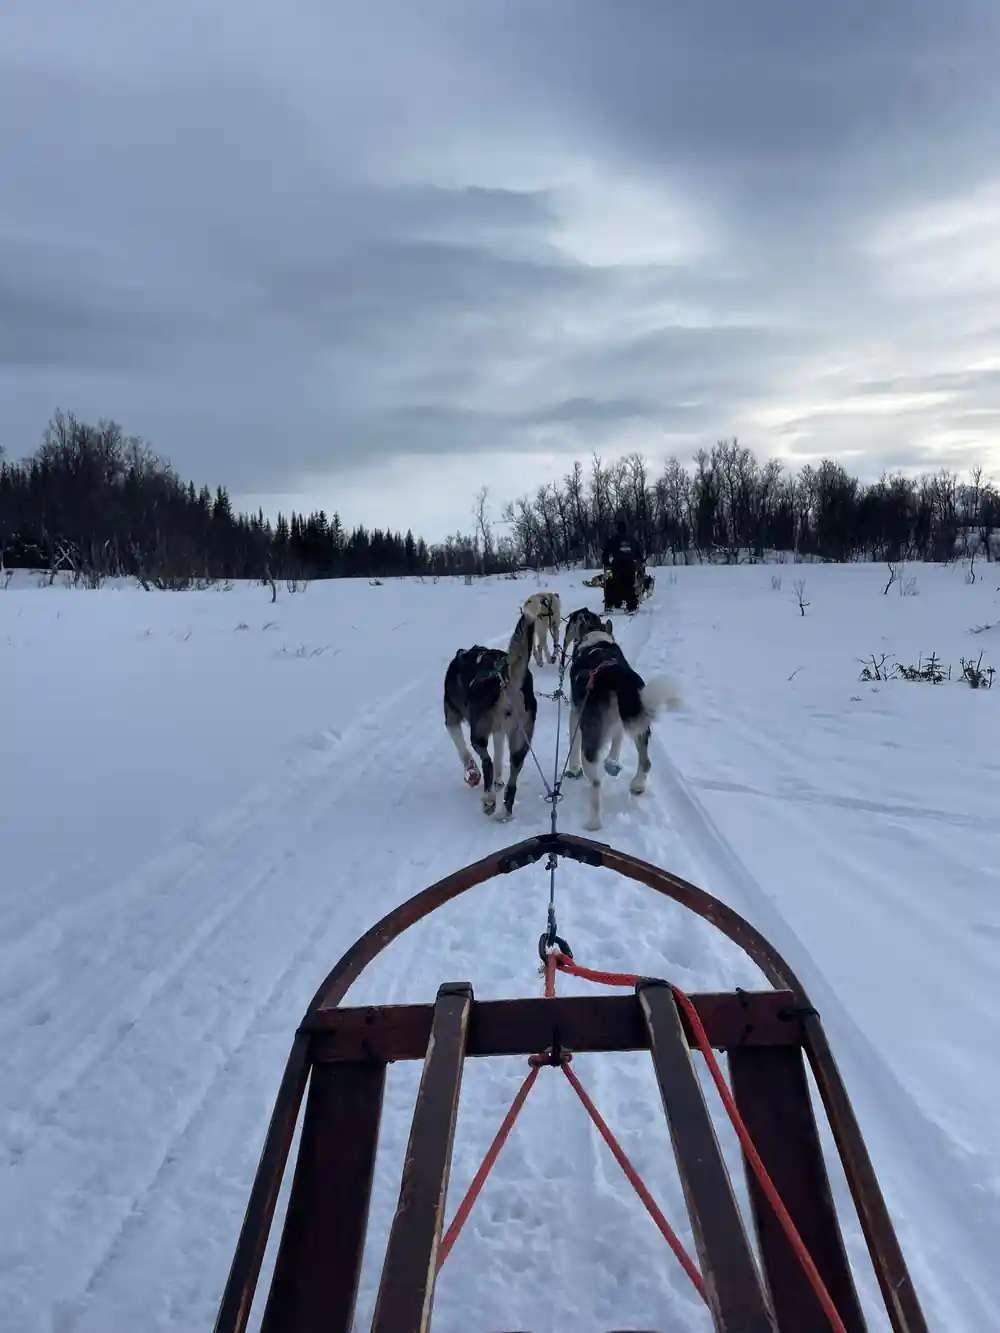
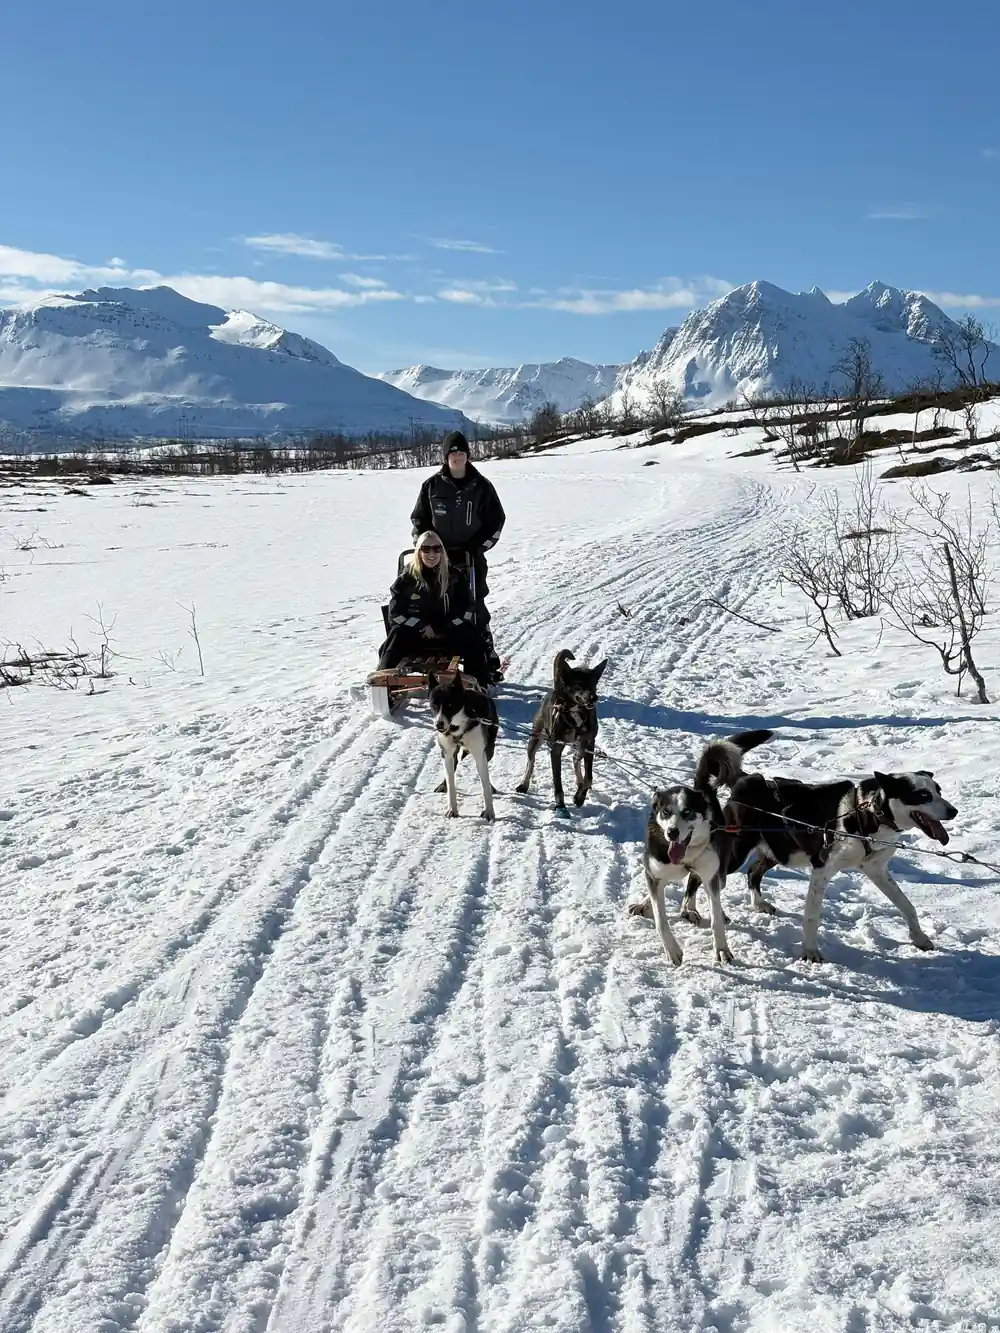
A husky team pulling a sled across fresh snow near Tromsø.
Commands the Dogs Actually Obey
The vocabulary of dog sledding terms is short. Teams work to voice, and the words stay the same from the moment young dogs start running with the older ones. A common set is hike to set off, whoa to stop, gee for a right turn and haw for a left, with easy used to slow the pace. Words vary between kennels, and some teams answer a whistle as readily as a voice, so the set your team knows is part of the briefing before you leave.
You will not be expected to run the whole tour on voice commands. On a self-drive trip you steer and brake while the dogs follow a trail they have run many times, and the guide travelling with your group sorts out junctions and passing places. Say a command once and let the team work it out. Keep your feet planted on the runners while you talk, because a hand off the bar and a foot in the air is how most first drives end.
Cornering and Weight Shift on Downhill Slopes
Corners reward a bit of nerve and a lot of weight. As the team swings right, shift your weight onto the right runner and lean with the sled; as they swing left, shift to the left. Keep both hands on the bar and the sled under your hips so the runners carve instead of skidding. Standing dead centre and stiff is what sends a sled sideways into a snowbank. On gentle bends a slight lean is plenty, and on tight ones you lean harder and earlier than you think.
Downhill is braking first and leaning second. Keep your weight back and low, keep the mat working, and take the slope slower than you would choose on a straight, so you are never braking and turning at the same time. Longer days out, such as the From Tromsø: Dog Sledding Adventure in Tamokdalen at 7 hours,[9] give you more trail to read, and the Tromsø Ice Domes sit 95 km from Tromsø in the heart of Tamok Valley.[10]
from US$351
Learn the brakes, the turns and the commands on a husky sled, with an instructor out on the snow with you.
What to Do If the Sled Tips Over
Sleds tip. They tip when a runner catches a snowbank, when a corner is cut too tight, and when your weight is on the wrong side of the sled at the wrong moment. The main thing is to stay attached. Keep a hand on the handlebar or the rigging and let the sled drag you along until the team slows. Letting go leaves you standing in deep snow while the team keeps running, and that is a much longer walk back.
If you do go over, keep your arms inside the sled and tuck your head, then wait for things to settle. Once the sled stops, check the dogs and the lines, put the snow hook in if the team is still pulling, and stand the sled back up. Soft, deep snow makes all of this easier than a hard-packed trail. The self-drive husky tour lists 4 hours out on the snow,[1] which is long enough to tip once, laugh about it and drive the rest of the way with more confidence.
Recovering After a Fall from the Runners
Falling off the runners is different from tipping over. You are the one in the snow, the sled is still moving, and the gap to the handlebar grows fast. If you can, keep hold of the bar as you fall and let the sled pull you upright; if the sled is gone, stay where the guide can see you and wait. Chasing a running team on foot over deep snow is a good way to lose the trail as well as the sled.
Getting back on matters more than looking graceful. Plant one foot on a runner, pull on the handlebar, and swing the other foot across when the sled is level and slow. Falling is normal on a first drive, especially on a descent or just after a tight turn. Wear warm layers you can move in, gloves you can grip with, and boots with room for your toes, because the average winter temperature in Tromsø is around −4°C.[5]
Swapping Driver and Passenger Mid-Trail
Sharing the driving is one of the best parts of a self-drive tour, and the swap has to be done properly. Stop the team on flat, wide, quiet ground, set the snow hook, and keep a hand on the sled. Agree who moves first so you are not both stepping over lines at once. Keep the basket tidy, watch the dogs, and make the change quickly. A team standing still in the cold starts to shuffle and bark.
Age rules vary by tour. The Fun & Easy Dog Sledding tour takes children from 7 years old, and children must be accompanied by adults.[6] The From Tromsø: Fun and Easy Dog Sledding Adventure lists a duration of 4.5 hours and a from price of US$305.[4] For younger children, a kennel visit works well as a first meeting with the dogs: the Tromsø: Husky Meet and Greet with Homemade Chocolate Cake takes 2 hours and costs from US$105.[11]
How long the dog sledding tours from Tromsø run
Durations as listed on GetYourGuide for these dog sledding tours[1][3][4][9]
Dog sledding from-prices in US dollars
Adult from-prices in US dollars for dog sledding tours, as listed on GetYourGuide[1][3][4][12]
When to go sledding in Tromsø
Sled driving basics
Stand on both runners
Feet on the runners, both hands on the handlebar, knees soft and weight low. Look ahead at the dogs, not down at your boots.
Find the brake
Locate the mat brake and the snow hook before the team moves, and test how hard the mat bites on the snow you have.
Say the command once
Hike to go, whoa to stop, gee right, haw left. Say it loudly, say it once, then let the dogs do the rest.
Lean through corners
Shift your weight to the inside runner as the team turns, and keep the sled under your hips instead of out to the side.
Stay with the sled
If the sled tips, keep a hand on the handlebar or the rigging and let the sled drag you until the team slows down.
Take the handles on a self-drive husky tour from Tromsø
from US$351Reserve now & pay later