The main points
- On a self-drive tour you are the driver, so the camera lives in one hand and comes up in short bursts between commands, with the brake never far from your other glove.
- Cold air drains a battery fast, so keep spares in an inside pocket, switch the screen off between shots and let a cold camera warm up slowly indoors.
- Bright snow fools a meter into underexposing, so push exposure compensation towards the bright side and check the histogram after the first run.
- Many of the best dog sledding pictures are the still ones: dogs on the line before the off, shot from their eye level with both hands free.
- A padded dry bag inside your sled bag holds a spare lens, a cloth and a second battery, clear of snow spray and the wet of a landing.
- Top choice Self-Drive Husky Sledding from US$351 Duration4 hours[1]Rating4.91 from 4,408 reviews[1]Guide languageInstructor: EnglishCancellationFree cancellation up to 24 hours[1] Check availability
- Husky Sled Self-Drive from US$355 Duration4 hours[2]Rating4.86 from 2,050 reviews[2]Guide languageLive tour guide: EnglishCancellationFree cancellation up to 24 hours[2] See this tour
- Fun and Easy Dog Sledding from US$305 Duration4.5 hours[3]Rating4.88 from 2,077 reviews[3]Guide languageLive tour guide: EnglishCancellationFree cancellation up to 24 hours[3] See this tour
The Fjellheisen cable car brings you from Solliveien in Tromsdalen up to Storsteinen, 421 meters above sea level, in just four minutes.
Is a camera worth bringing on the sled?
On the sled
- Neck strap on, camera tucked inside the jacket between shots
- Shoot in short bursts on the straights, then put the camera away
- Warn your passenger or guide before you turn round to shoot
- Bus or coach transfer to Kvaløya and back on the self-drive tour[1]
Cold weather kit
- Average winter temperature in Tromsø is around −4°C[4]
- Spare battery and memory card kept in an inside pocket
- Microfibre cloth and a small dry bag for the lens
- Lens hood for flare off the snow and low winter sun
Holding a phone or camera while driving the sled
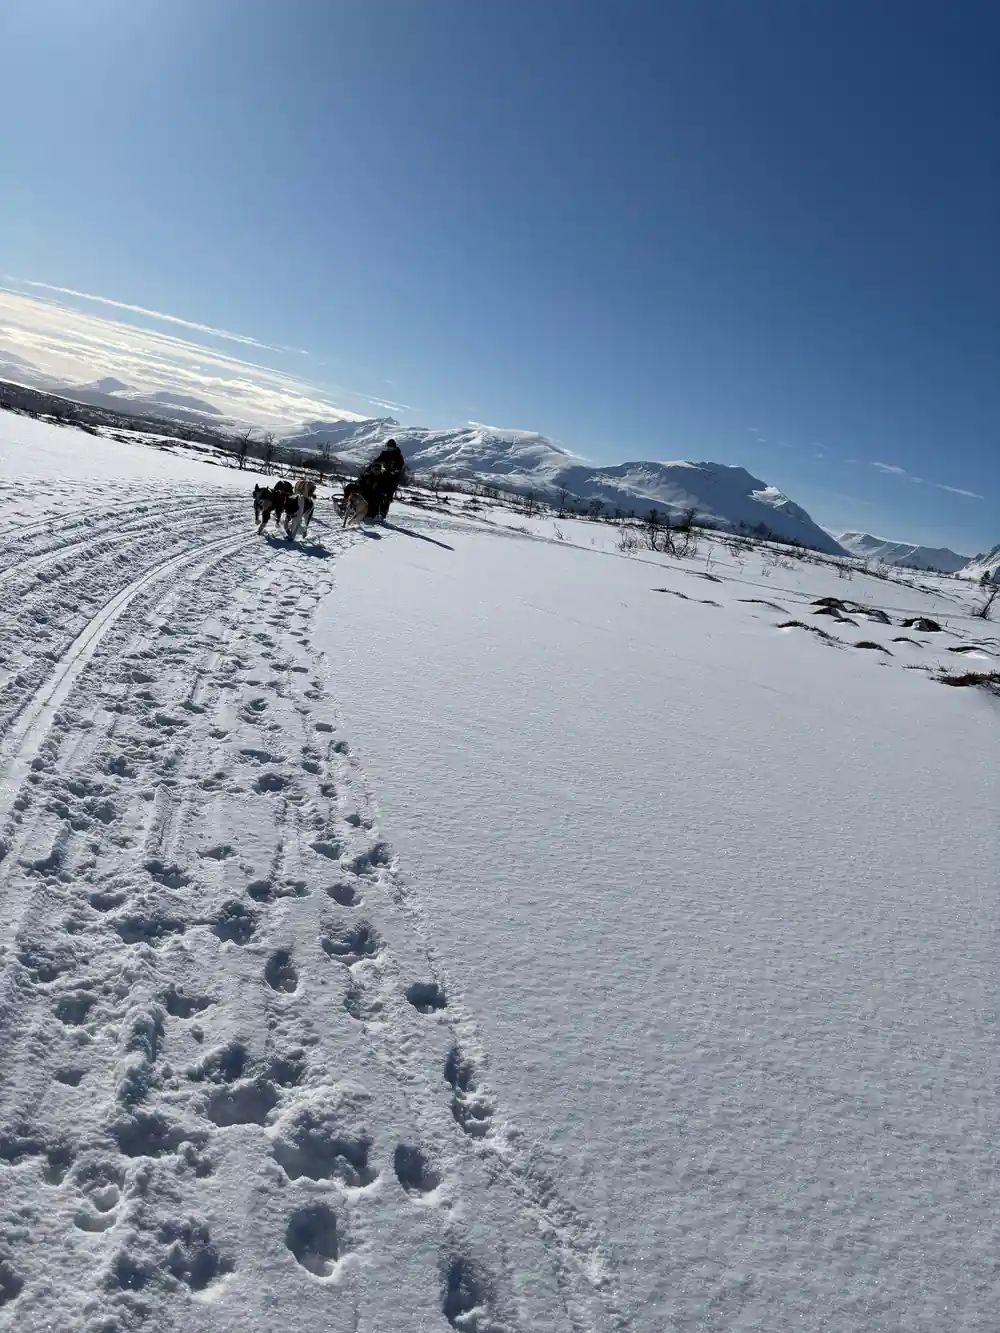
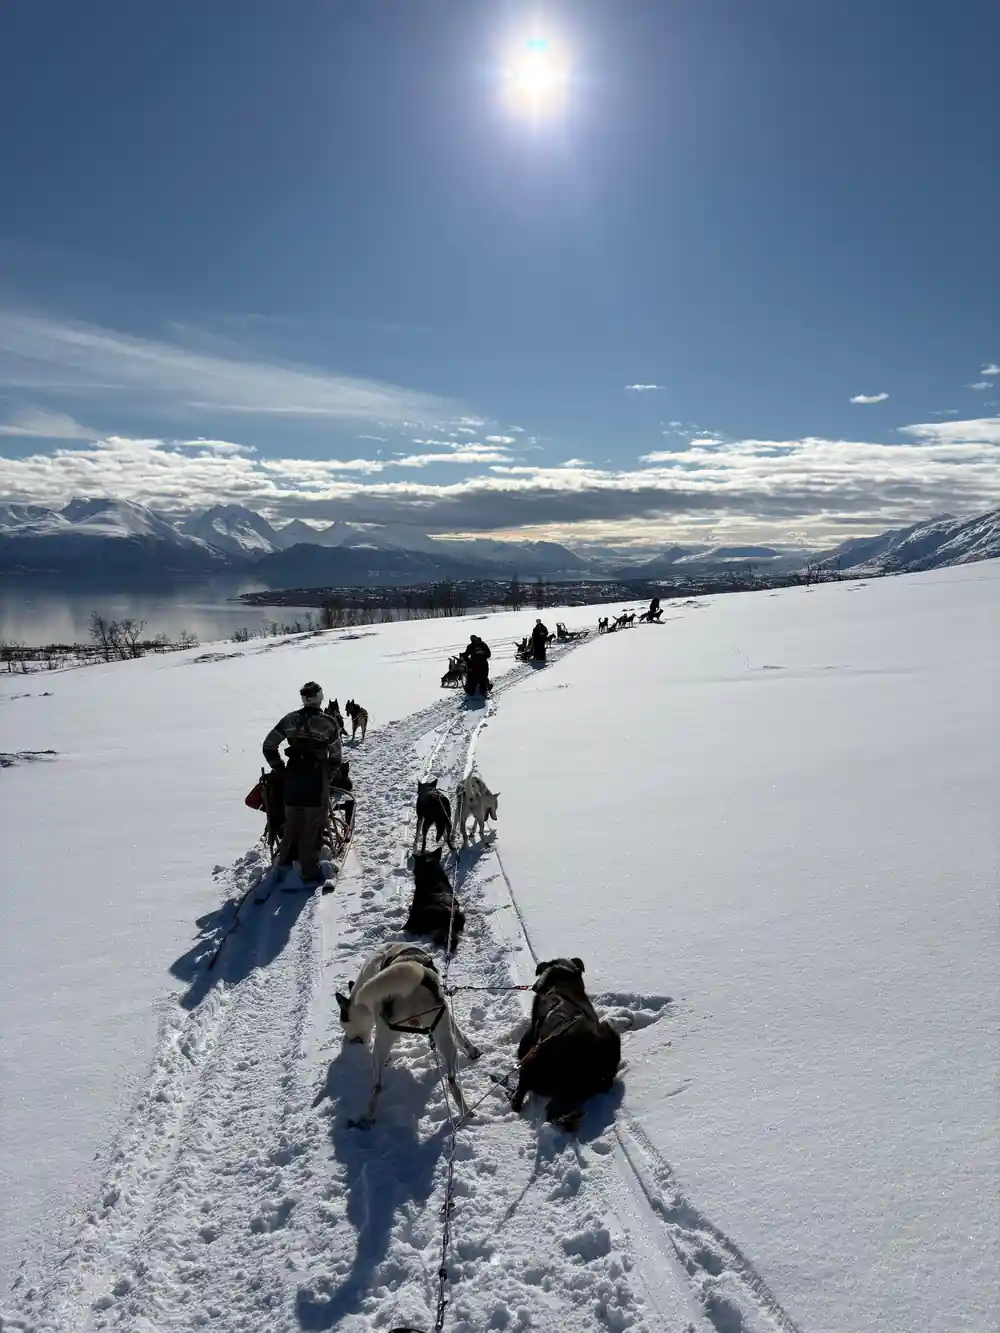
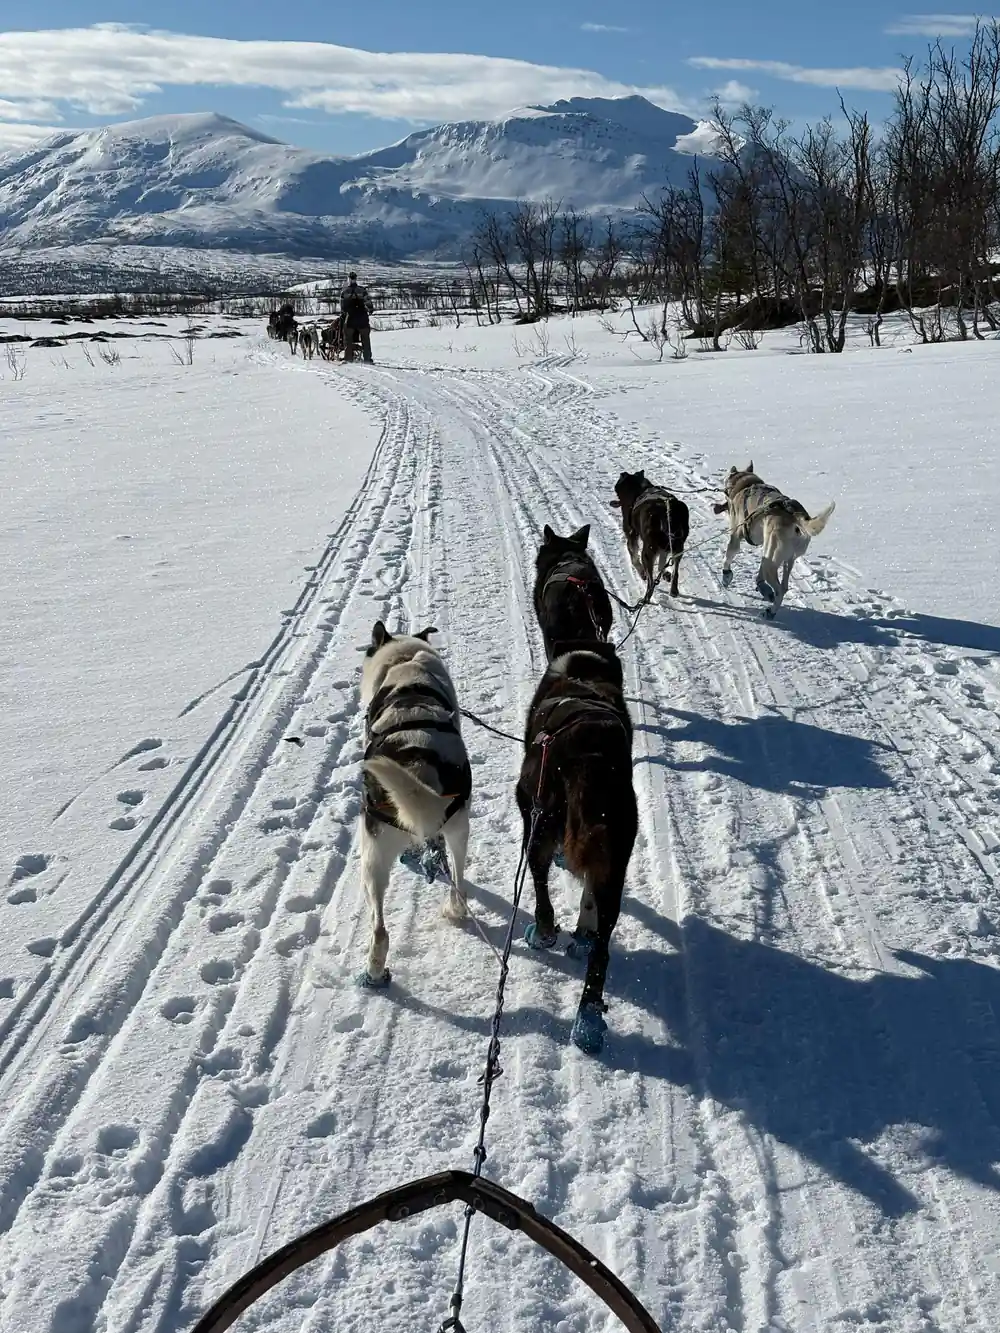
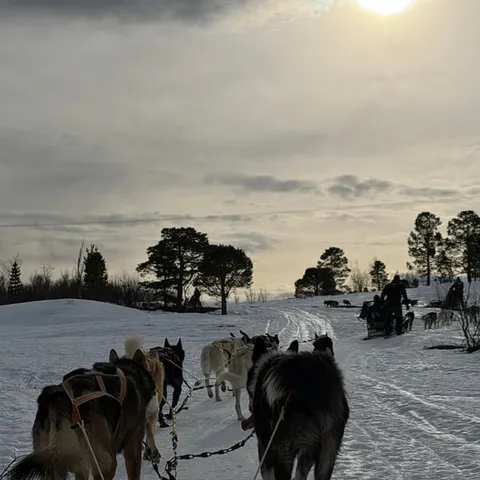
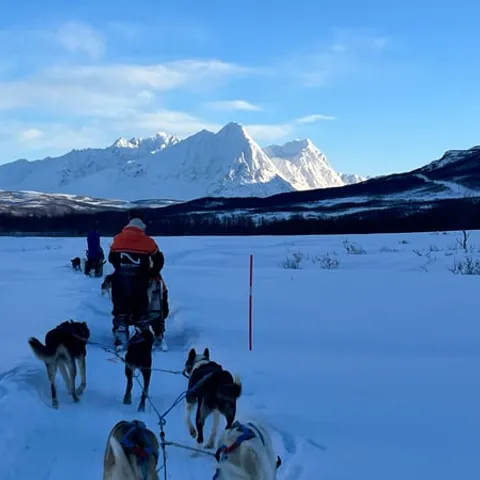
On a self-drive tour you are the one standing on the runners, with one hand on the handlebar and the other close to the brake, so photography happens in the gaps rather than all the way round. The self-drive husky tour from Tromsø runs 4 hours, and that is plenty of time to find a rhythm: shoot for a few seconds, tuck the camera away, take the corner, then bring it out again on the next straight.[1]
The safest habit is to wear the camera on a neck strap or a wrist strap and keep it inside your jacket between shots, so that a fumble ends with the camera against your chest rather than in the trail. Practise one-handed while the team is still standing at the start, so that the shutter, the zoom and the screen wake button all sit where your thumb expects them before the dogs are pulling. If you ride as a passenger on a guided sled you have both hands free the whole way, but ask your driver before you lean out to one side.
Whatever you choose, agree the plan before you set off. Tell your passenger, your guide or the person behind you that you intend to turn round and shoot, because a sled moves quietly and a sudden twist on the runners shifts your weight at exactly the wrong moment. On the straights, when the team is running evenly in a track, you get the calmest platform you will have all day.
Battery life in Arctic cold
Cold is hard on batteries. Charge everything the night before, carry a spare phone battery or power bank in an inside pocket against your body, and switch the screen off between shots rather than letting it idle in the hope that you will need it. A camera that has been outside for an hour will show a low battery warning long before it is really empty; warm it inside your jacket and it will often come back with a respectable amount of charge left. In Tromsø the average winter temperature is around −4°C, and it feels considerably sharper once the sled is moving and the wind is in your face.[4]
Warmth is the other half of the problem. Coming back into a heated cabin with a cold camera invites condensation on the front element and inside the body, so seal the camera in a plastic bag or a dry bag before you go indoors and let it come back to room temperature slowly. The same trick saves a phone screen that has gone dim and sluggish. If you shoot with a phone, a short charging cable and a small power bank in a chest pocket will keep it alive through a transfer and a whole sledding run.
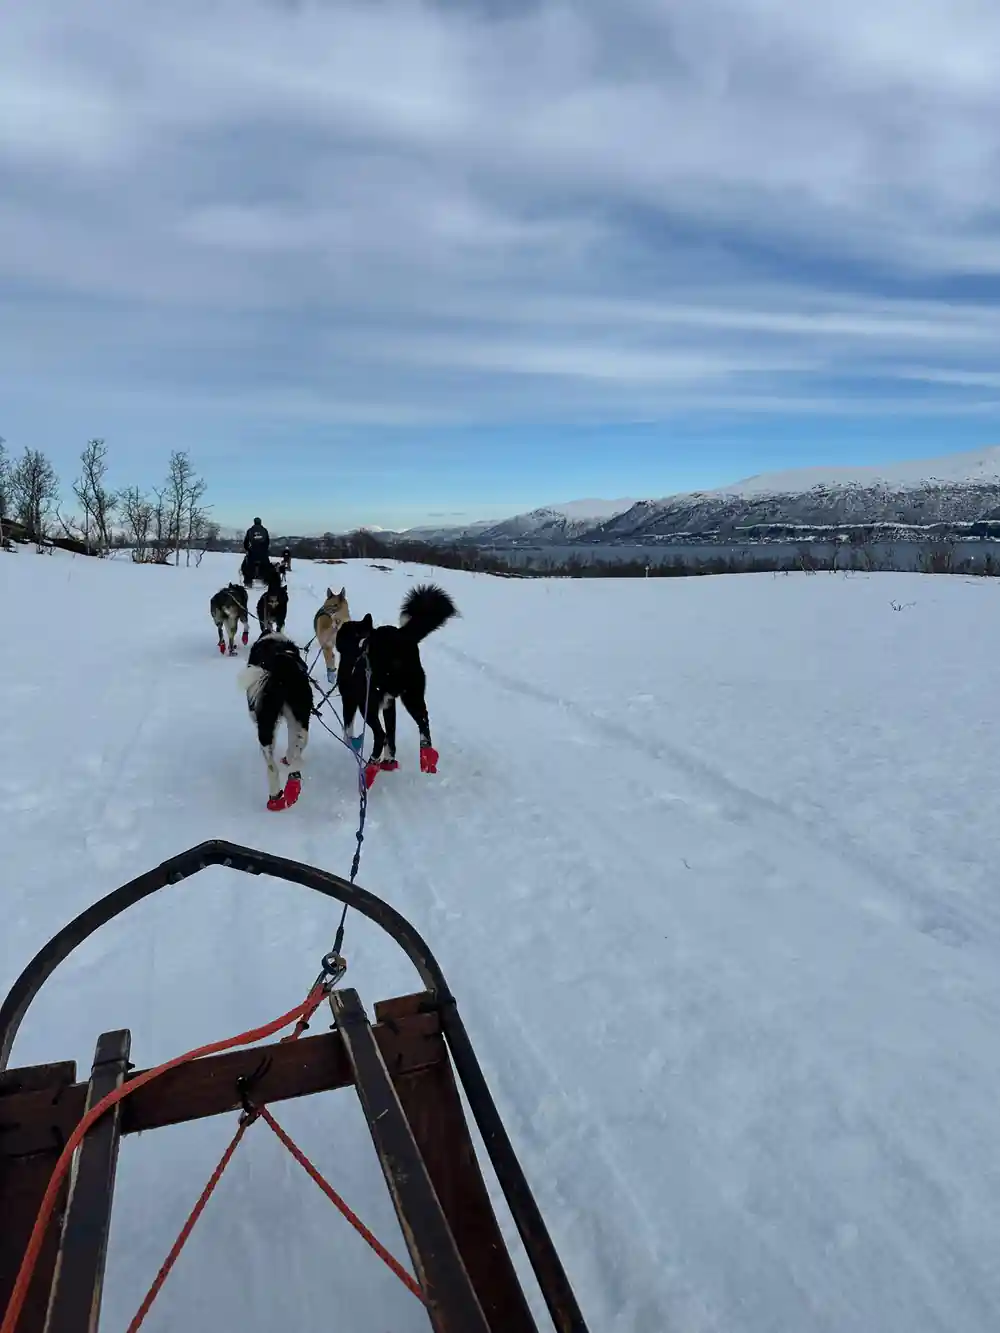
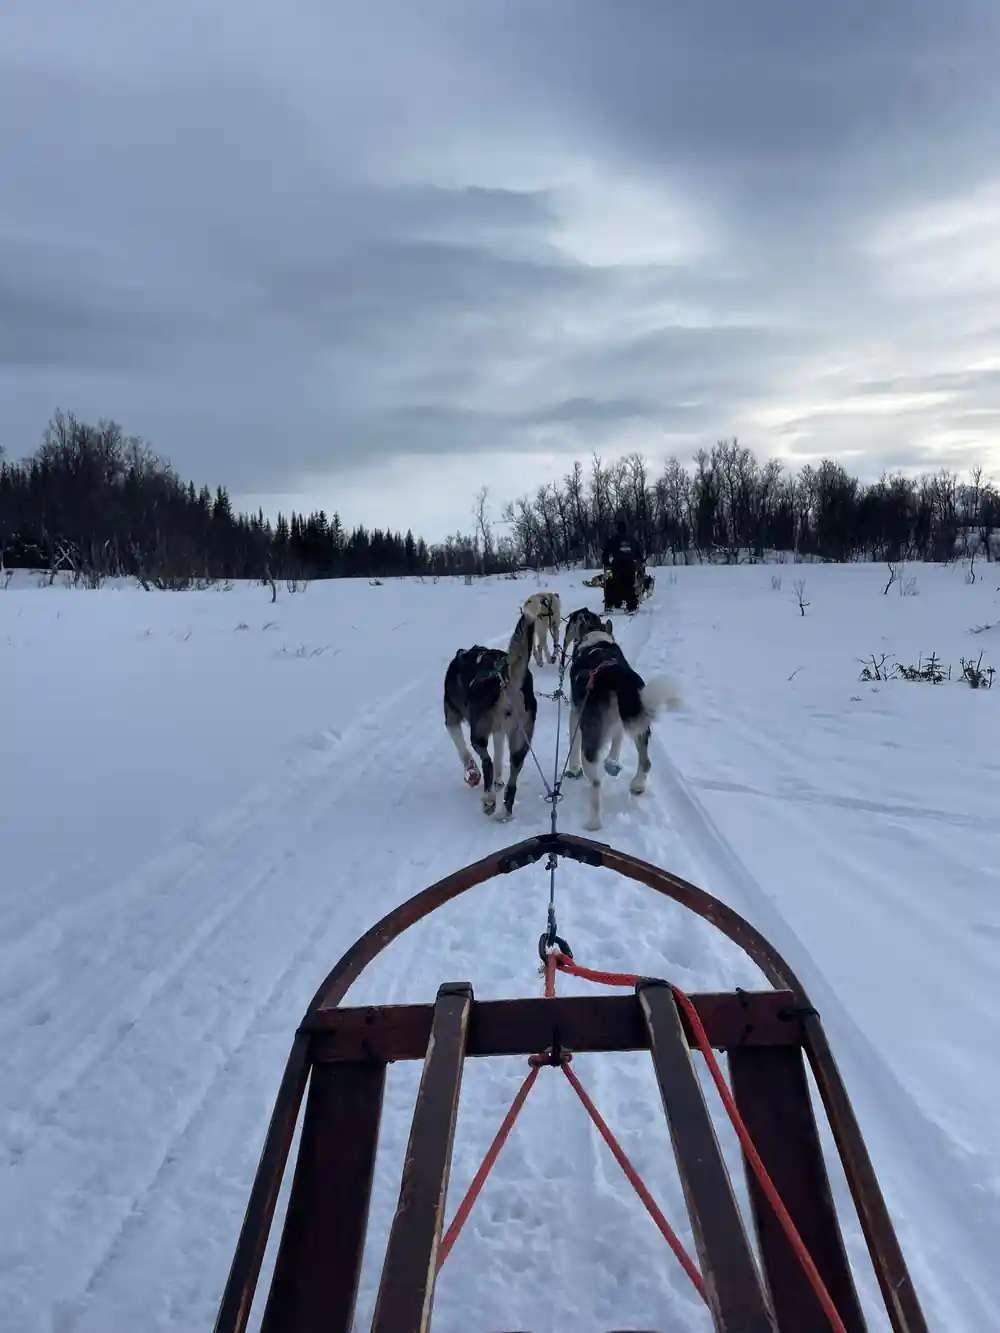
Camera up on a straight, dogs leaning into the harness, one hand still on the brake.
Exposure settings for snow and Arctic light
Snow is bright, and a meter trying to average the whole frame will turn drifts grey and flatten dark dogs into silhouettes. Push exposure compensation towards the brighter end until the snow reads white, check the histogram after the first run, and keep a lens hood on to hold back flare from a low sun. Auto modes often fight you in this light; manual or aperture priority with a fixed compensation gives you frames that match from one shot to the next, which matters when the action is moving and you cannot stop to check everything.
The light in Tromsø changes shape through the winter. During the polar night, which runs from 27 November to 15 January, the bright part of the day is short and the sky often turns deep blue and pink.[5] The Northern Lights season runs from late August to early April for anyone staying out after dark.[6] In summer the midnight sun usually lasts from around 20 May to 22 July, which means long evenings in soft, level light.[7]
Each of those lights wants a different approach. Flat, even light under cloud is the easiest to expose and the kindest to dark coats and black dogs. Low sun across the snow gives you long shadows and a rim of light along a husky's back if you shoot with the sun behind the animal. Blue twilight before the aurora comes out needs a steady hand or something to lean on, and a fast lens helps more than a high ISO setting.
Photographing the dogs before you drive
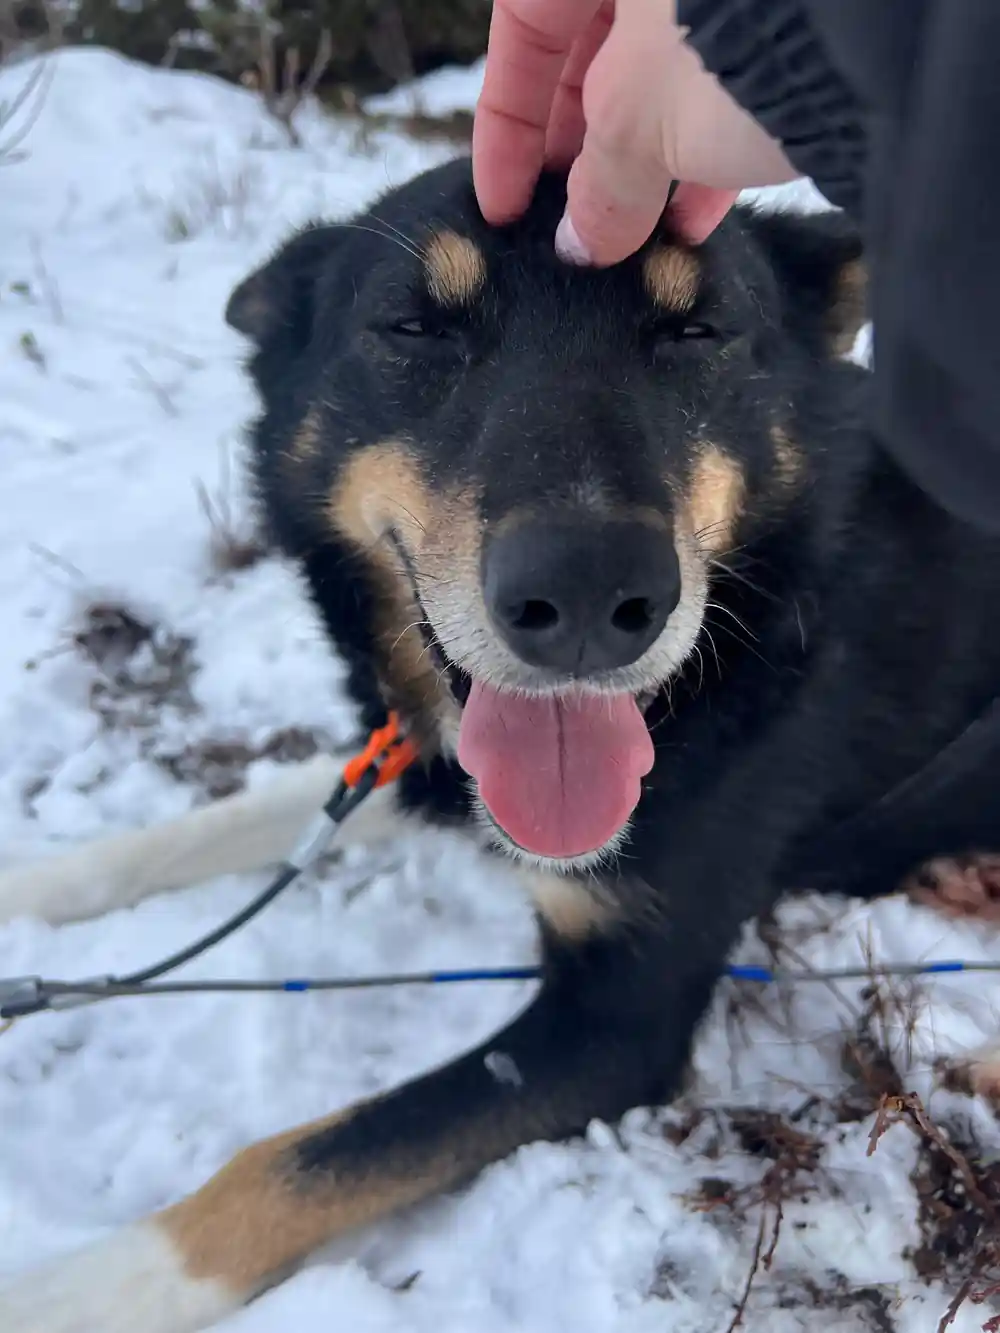
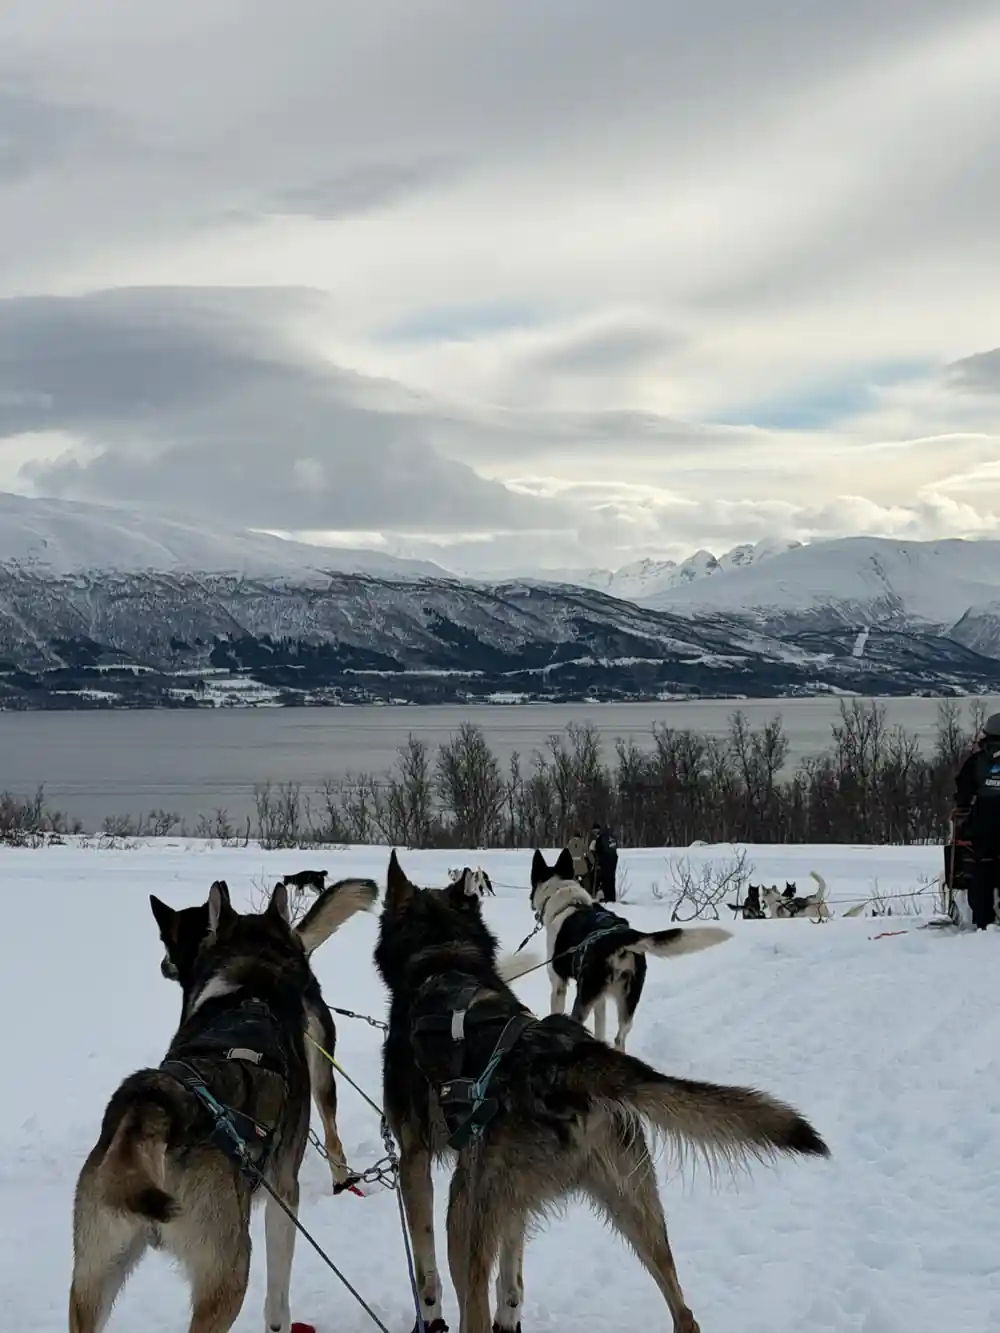
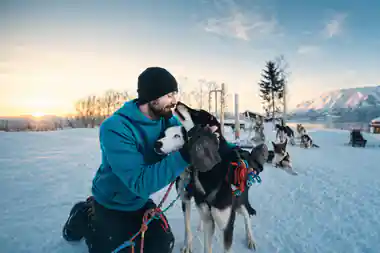
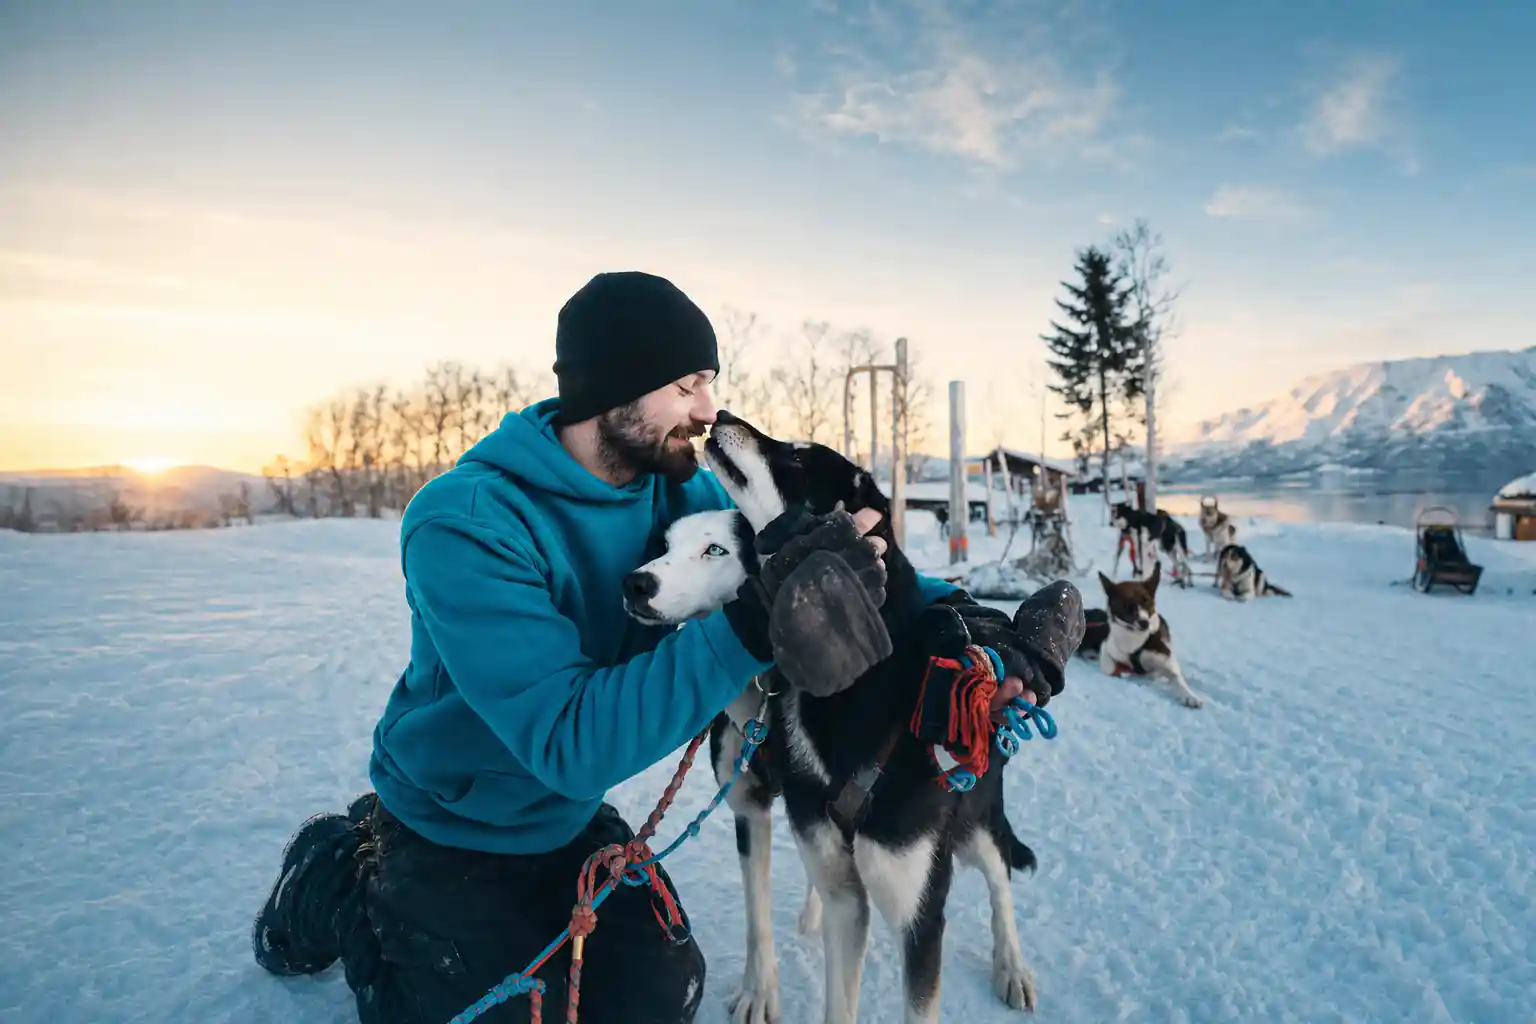
Many of the best dog sledding pictures are taken while nothing is moving at all. Before the team is hooked up, the yard is a tangle of harnesses, howling and tails, and you have both hands free. Get down to the dogs' eye level rather than shooting down at them from standing height, frame the animal against snow rather than a kennel wall, and watch the handler's hands for the moment a harness goes over a head.
These are working animals with a long pedigree behind them. One kennel family in the north has raised and raced Alaskan Huskies bred for endurance, resilience, and heart for over three decades and two generations.[8] Portraits of individual dogs work best at the start and at the end of the day, when the team is standing still on the line and nobody is in a hurry. If you want a picture of a handler, a guide or another guest, ask first, especially at a working kennel.
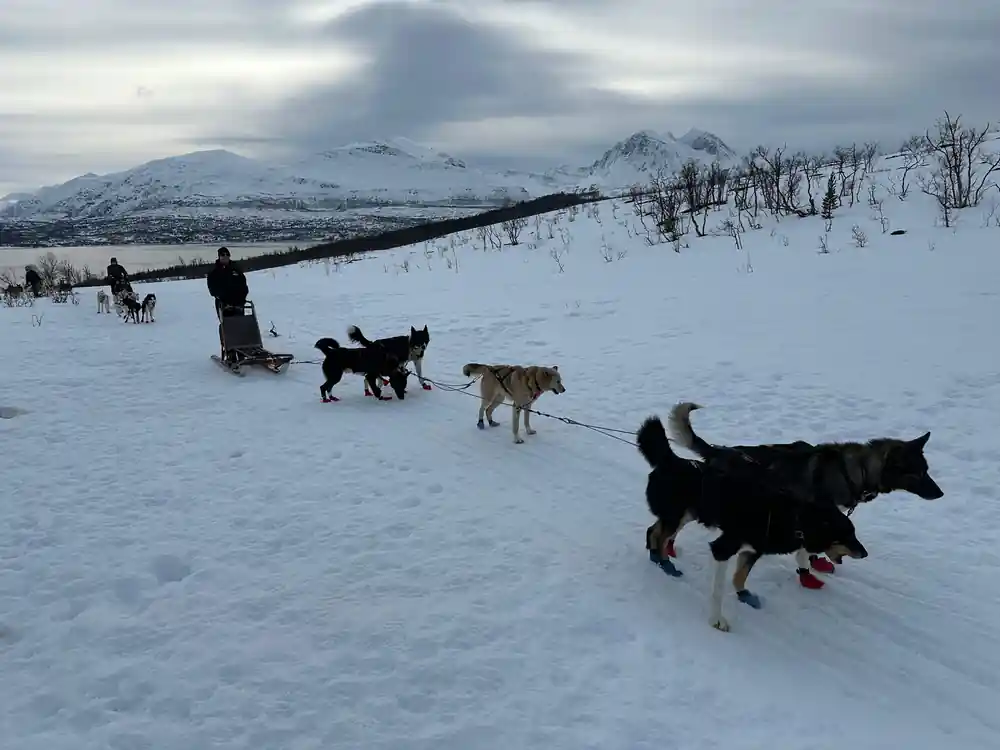
The hooked-up moment is worth waiting for. When the last dog goes on and the line goes taut, the noise stops, ears come forward and every head turns the same way. Shoot a short burst from behind the sled, then put the camera away and take your place, because that is when your own team will start to pull.
from US$351
The Self-Drive Husky Dog Sledding Adventure, the tour booked from this site, runs 4 hours with a coach transfer to Kvaløya and back.[1]
Storage and protection during the sledding trip
Pack for photography the way you would pack for wet weather. A padded dry bag for the spare lens, a zip bag for cards and batteries, and one cloth that stays dry, all inside whatever bag travels with you, keeps snow spray away from glass and contacts. The self-drive tour transfers by bus or coach to Kvaløya and back, and Kvaløya starts less than 5 km from central Tromsø, so you are never far from a road even when the trail feels remote.[1][9]
Keep one memory card in the camera and one in a pocket, and change cards with your back to the wind. If you carry a second camera or an action camera, keep it in the same bag so that everything is in one place when the guide calls time to go. A small towel in the bag handles the worst of the snow before it melts into the lens mount, and a couple of silica packets stop the inside of the bag turning into a small damp microclimate.
Avoiding drops and damage in snow
A camera dropped in powder usually survives, but it fills with snow that melts into every seam once you are back inside. Lanyards, wrist straps and a padded pouch solve most of the risk. Never set a camera down on the snow to free up a hand, and never rest it on the sled bag where a passing dog can reach it with a paw or a nose. Zip the bag every time, even for a moment.
Gloves are the other half of the problem. Thick mittens make small buttons almost impossible, and bare fingers go numb quickly at these temperatures. Thin liner gloves under mittens let you work the controls for a few seconds and then get your hands back into warmth. A camera with large buttons, a touchscreen that responds through a glove, or a voice shutter takes some of the fiddling out of the cold.
If you are filming, brace the camera against the handlebar or your chest rather than holding it out at arm's length, and keep the clips short so that you are not filming through the entire run. Long clips of white snow and the back of a dog are hard work to watch later, and the camera is safer when it is tucked in against something solid.
Timing your photos around the sledding experience
Most sledding days follow the same shape: a transfer out of the city, a stop to change into borrowed boots and suits, a briefing, then the drive itself, followed by hot food and the trip home. Photograph the outfitting, the briefing and the dogs being harnessed as well as the run, because those are the frames that show what the day actually felt like. The dog sledding season in Northern Norway typically runs from December to March, depending on snow conditions.[10] Light and snow depth shift a lot across those weeks.
Think about when in the day you want to be on the trail. A morning run often has firmer tracks and colder air, an afternoon run has softer light and a little more warmth in the sun, and either can give you a sky worth pointing a camera at. Whatever you plan, charge everything the night before, wipe the lens before you start, and decide in advance which shots matter most, so that you can put the camera down and simply drive when the trail asks for both hands.
If you have a spare day in Tromsø, the landscape deserves a second memory card. The Fjellheisen cable car rises to Storsteinen, 421 meters above sea level, for a wide view over the city and the fjord.[11] Further out, the Tromsø Ice Domes sit 95 km from Tromsø, deep in Tamok Valley.[12] Both are good places to practise the snow exposure you will use on the sled, and the habit of checking your histogram before the light changes.
How long Tromsø dog sledding tours run
Durations in hours as listed on GetYourGuide for these tours:[1][2][3][13][14].
From prices for dog sledding tours in Tromsø
Every amount is a US dollar from-price on these GetYourGuide listings:[1][2][3][14].
When the light works in Tromsø
Shooting from the sled
Hands free for the hook-up
Put the camera away while the team is harnessed and the sled is checked, then take your portraits once the dogs are standing still.
Tuck the camera inside
Between shots the camera goes inside your jacket on its strap, where it stays warm and cannot swing into a tree or a dog.
Shoot the straights
Bring the camera out when the team is running evenly in a track, shoot a short burst, then put it away before the next corner.
Pass it to a passenger
On a guided sled the passenger has both hands free, and swapping the camera over is the easiest way to get a frame of the driver at work.
Stills back at the kennel
The self-drive tour runs 4 hours, so there is usually time at the end for stills of tired dogs and a last look around the yard.[1]
Drive your own team and bring the camera
from US$351Reserve now & pay later